Electric fence repair ensures the security and functionality of your property. Addressing issues promptly can prevent unwanted breaches.
Electric fences are vital for protecting properties, livestock, and crops. Regular maintenance and timely repairs keep them effective. Common problems include broken wires, faulty connections, and power supply issues. Identifying and fixing these issues quickly is crucial. Regular inspections can help spot potential problems early.
Repairing an electric fence often involves checking the voltage, tightening loose wires, and replacing damaged components. Hiring a professional for complex repairs ensures safety and effectiveness. A well-maintained electric fence provides peace of mind and reliable security. Keeping your electric fence in top condition is essential for its longevity and performance.

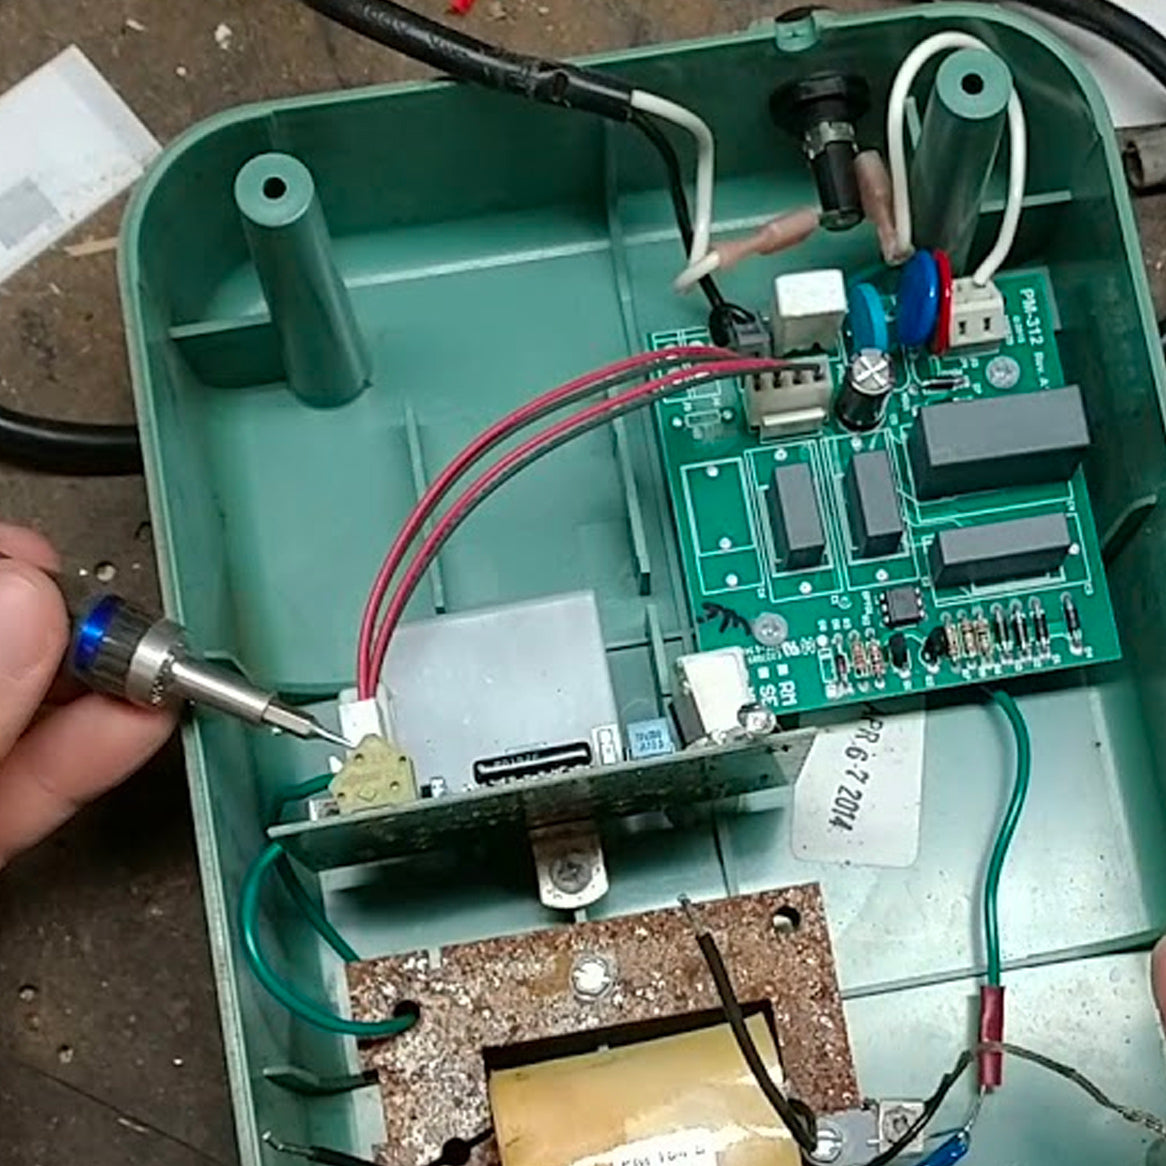
Credit: www.eevblog.com
Tools And Materials
Repairing an electric fence requires the right tools and materials. Using proper equipment ensures the job is done efficiently. This section will guide you through the essential tools and recommended materials needed for electric fence repair.
Essential Tools
Having the correct tools can make electric fence repair straightforward. Here are the must-have tools:
- Fence Tester: A fence tester helps identify faults in the fence.
- Wire Cutters: Wire cutters are essential for cutting and adjusting wires.
- Pliers: Pliers are useful for gripping and bending wires.
- Volt Meter: A volt meter measures the voltage running through the fence.
- Insulation Tape: Insulation tape is used for protecting exposed wire parts.
Recommended Materials
For a durable repair, you need quality materials. The following materials are recommended:
- High-Tensile Wire: This wire is strong and long-lasting.
- Insulators: Insulators prevent the electric current from grounding.
- Fence Posts: Sturdy posts support the entire fence structure.
- Ground Rods: Ground rods are vital for a functional electric fence.
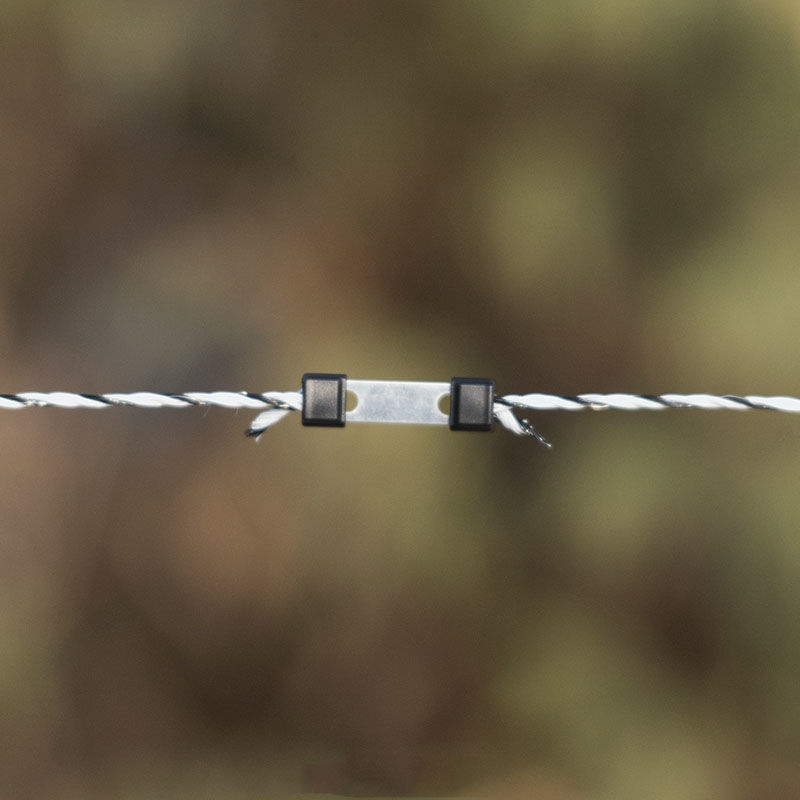
- Connectors: Connectors link different wire sections securely.
| Tool | Purpose |
|---|---|
| Fence Tester | Identifies faults |
| Wire Cutters | Cuts and adjusts wires |
| Pliers | Grips and bends wires |
| Volt Meter | Measures voltage |
| Insulation Tape | Protects exposed wires |
With these tools and materials, you can effectively repair your electric fence, ensuring it remains functional and secure.
Safety Precautions
Repairing an electric fence requires care. Safety is the most important thing. Follow these steps to stay safe.
Shutting Off Power
Before starting, always shut off the power. This prevents electric shocks. Locate the power source. Turn it off completely. Use a tester to ensure no current is flowing.
Protective Gear
Wearing the right protective gear is crucial. Use insulated gloves and boots. These protect against accidental shocks. Safety glasses shield your eyes from sparks.
Checklist For Safety Gear
| Item | Purpose |
|---|---|
| Insulated Gloves | Protects hands from electric shock |
| Insulated Boots | Protects feet from electric shock |
| Safety Glasses | Protects eyes from sparks |
Steps To Follow
- Turn off the power source.
- Wear insulated gloves and boots.
- Use safety glasses to protect your eyes.
- Double-check that the power is off.
- Proceed with the repair.
Identifying Issues
Identifying issues in an electric fence is crucial for maintaining its effectiveness. Knowing the common problems and diagnostic techniques helps ensure your fence works properly.
Common Problems
Electric fences can encounter several common issues. Here are some of the most frequent problems:
- Broken Wires: Wires can snap due to wear and tear.
- Poor Connections: Loose connections can weaken the electric current.
- Vegetation Interference: Plants touching the fence can cause shorts.
- Faulty Insulators: Insulators can crack or break, leading to power loss.
- Grounding Issues: Poor grounding can reduce fence efficiency.
Diagnostic Techniques
Use these techniques to diagnose issues in your electric fence:
- Visual Inspection: Check for visible breaks or loose connections.
- Voltage Tester: Use a tester to check the voltage along the fence.
- Wire Continuity Test: Ensure all wires are intact and connected.
- Ground Rod Test: Measure the effectiveness of the grounding system.
- Listen for Clicks: Listen for clicking sounds to identify shorts.
Regular maintenance and timely repairs keep your electric fence functioning well.
Wire Repairs
Maintaining your electric fence is essential for its effectiveness. Wire repairs are a crucial part of this maintenance. Damaged wires can cause your fence to malfunction, putting your property at risk. In this section, we will discuss various techniques for repairing electric fence wires.
Splicing Techniques
Splicing wires is a common repair technique. It involves joining two broken wire ends together. Here are some effective splicing methods:
- Twist and Knot: This is a simple method. Twist the ends together and knot them.
- Crimp Sleeves: Use crimp sleeves for a secure connection. Place the ends in the sleeve and crimp.
- Soldering: This method provides a strong bond. Solder the wire ends and cover with heat shrink tubing.
Replacing Damaged Sections
Sometimes, the wire is too damaged to splice. In these cases, replace the damaged section. Follow these steps:
- Identify the damaged section: Inspect the fence to find the faulty wire.
- Cut out the damaged part: Use wire cutters to remove the broken section.
- Measure and cut new wire: Measure a new piece of wire. Cut it to the required length.
- Connect the new wire: Use splicing techniques to attach the new wire. Ensure it is secure.
Regular wire repairs keep your electric fence functioning properly. This ensures your property remains protected.
Post And Insulator Fixes
Maintaining an electric fence involves fixing posts and replacing insulators. These components are crucial for the efficiency of your fence. Without proper care, the fence may not function correctly. Below, we discuss how to repair posts and replace insulators.
Repairing Posts
Posts are the backbone of your electric fence. If a post is damaged, the fence loses stability. Here are steps to repair a damaged post:
- Inspect the post for any signs of damage.
- Remove any broken parts carefully.
- Use a post hole digger to create a new hole.
- Insert a new post into the hole.
- Fill the hole with concrete for stability.
- Allow the concrete to set before reattaching the wires.
These steps ensure your fence remains strong and upright.
Replacing Insulators
Insulators prevent electrical shorts by keeping wires from touching posts. A damaged insulator can cause your fence to malfunction. Here’s how to replace an insulator:
- Identify the damaged insulator.
- Turn off the power to the fence.
- Carefully remove the broken insulator.
- Install a new insulator in its place.
- Reattach the electric wire to the new insulator.
- Turn the power back on and test the fence.
Replacing insulators ensures your fence continues to operate efficiently.

Credit: www.youtube.com
Energizer Troubleshooting
The energizer is the heart of your electric fence system. It delivers the electric pulse. This pulse keeps animals inside and intruders out. Sometimes, the energizer may stop working. Knowing how to troubleshoot it is essential. Below are steps to help you.
Testing The Energizer
Testing your energizer is the first step. Use a voltage tester. Follow these steps:
- Turn off the energizer.
- Disconnect the fence and ground wire.
- Turn the energizer back on.
- Place the voltage tester on the terminals.
A good reading should be between 5,000 and 9,000 volts. If not, there may be an issue.
Fixing Common Energizer Issues
Common issues with energizers can be easy to fix. Below is a table of common problems and solutions.
| Problem | Solution |
|---|---|
| No power | Check power source, replace fuse. |
| Low voltage | Inspect the battery, clean terminals. |
| Sparks or shorts | Check for damaged wires, fix breaks. |
If these solutions don’t work, consult the user manual. Contact customer support if needed.
Grounding System
The grounding system is crucial for the effectiveness of an electric fence. A well-maintained grounding system ensures the fence delivers a proper shock to deter intruders. This section will guide you through checking and improving your grounding system.
Checking Ground Rods
First, inspect the ground rods to ensure they are in good condition. Follow these steps:
- Locate all ground rods around the fence.
- Check for signs of rust or corrosion.
- Ensure the rods are driven deep into the ground.
- Measure the voltage using a voltmeter.
If the voltage is low, the ground rods may need replacement or adjustment.
Improving Grounding
Improving the grounding system enhances the fence’s efficiency. Here are some tips:
- Use at least three ground rods.
- Space the rods 10 feet apart.
- Connect rods using insulated wire.
- Ensure each rod is at least 6 feet long.
Also, keep the area around the ground rods moist for better conductivity.
| Steps | Details |
|---|---|
| Check Rods | Inspect for rust and proper depth. |
| Measure Voltage | Use a voltmeter for accuracy. |
| Space Rods | Place rods 10 feet apart. |
| Connect Rods | Use insulated wire for connections. |
| Keep Moist | Moist soil enhances conductivity. |
Following these steps ensures your electric fence’s grounding system is effective. This enhances the fence’s ability to deter intruders.
Credit: www.premier1supplies.com
Preventative Maintenance
Maintaining your electric fence is crucial. Proper care ensures it works well. Preventative maintenance stops problems before they start. This saves you time and money.
Regular Inspections
Regular inspections keep your fence in top shape. Check your fence weekly. Look for broken wires or posts. Ensure the power source is working.
- Check for rust or wear.
- Ensure wires are tight.
- Inspect the power source.
Fixing small issues early prevents bigger problems. This keeps your fence strong and reliable.
Seasonal Upkeep
Seasonal upkeep is vital. Different seasons bring different challenges. In spring, clear any debris from around the fence.
- Remove branches and leaves.
- Check for damage from winter.
In summer, ensure the fence is not covered by plants. Trim grass and weeds regularly.
In autumn, check for any damage from storms. Reinforce weak spots. In winter, ensure the power source is protected from cold.
| Season | Maintenance Task |
|---|---|
| Spring | Clear debris, check for winter damage. |
| Summer | Trim plants, ensure wires are clear. |
| Autumn | Inspect for storm damage, reinforce weak spots. |
| Winter | Protect power source from cold. |
Frequently Asked Questions
Can You Repair Electric Fence Wire?
Yes, you can repair electric fence wire. Use a wire splice or crimping sleeves for a secure fix. Always disconnect power before repairing.
How To Service An Electric Fence?
To service an electric fence, first turn off the power. Inspect for damage, clear vegetation, and check insulators. Tighten wires and test voltage.
Can You Splice Electric Fence?
Yes, you can splice an electric fence. Use proper connectors to ensure a secure and effective connection. Always turn off the power before splicing.
How Do I Fix My Wire Fence?
To fix your wire fence, tighten loose wires using pliers. Replace damaged sections with new wire. Secure posts firmly into the ground. Check for rust and remove it. Regularly inspect for maintenance.
Conclusion
Regular electric fence maintenance ensures safety and efficiency. Address issues promptly to prevent costly repairs. Always consult a professional for complex problems. Keeping your electric fence in top condition protects your property and livestock effectively. Invest time and effort in proper care for lasting benefits.

