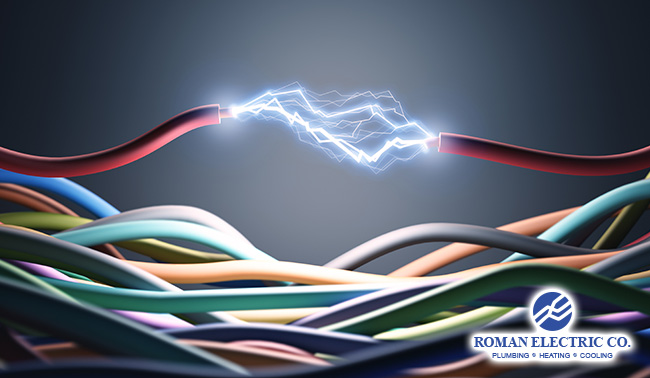
Electrical wire is a conductor for transmitting electricity. It is essential in both residential and commercial wiring systems.
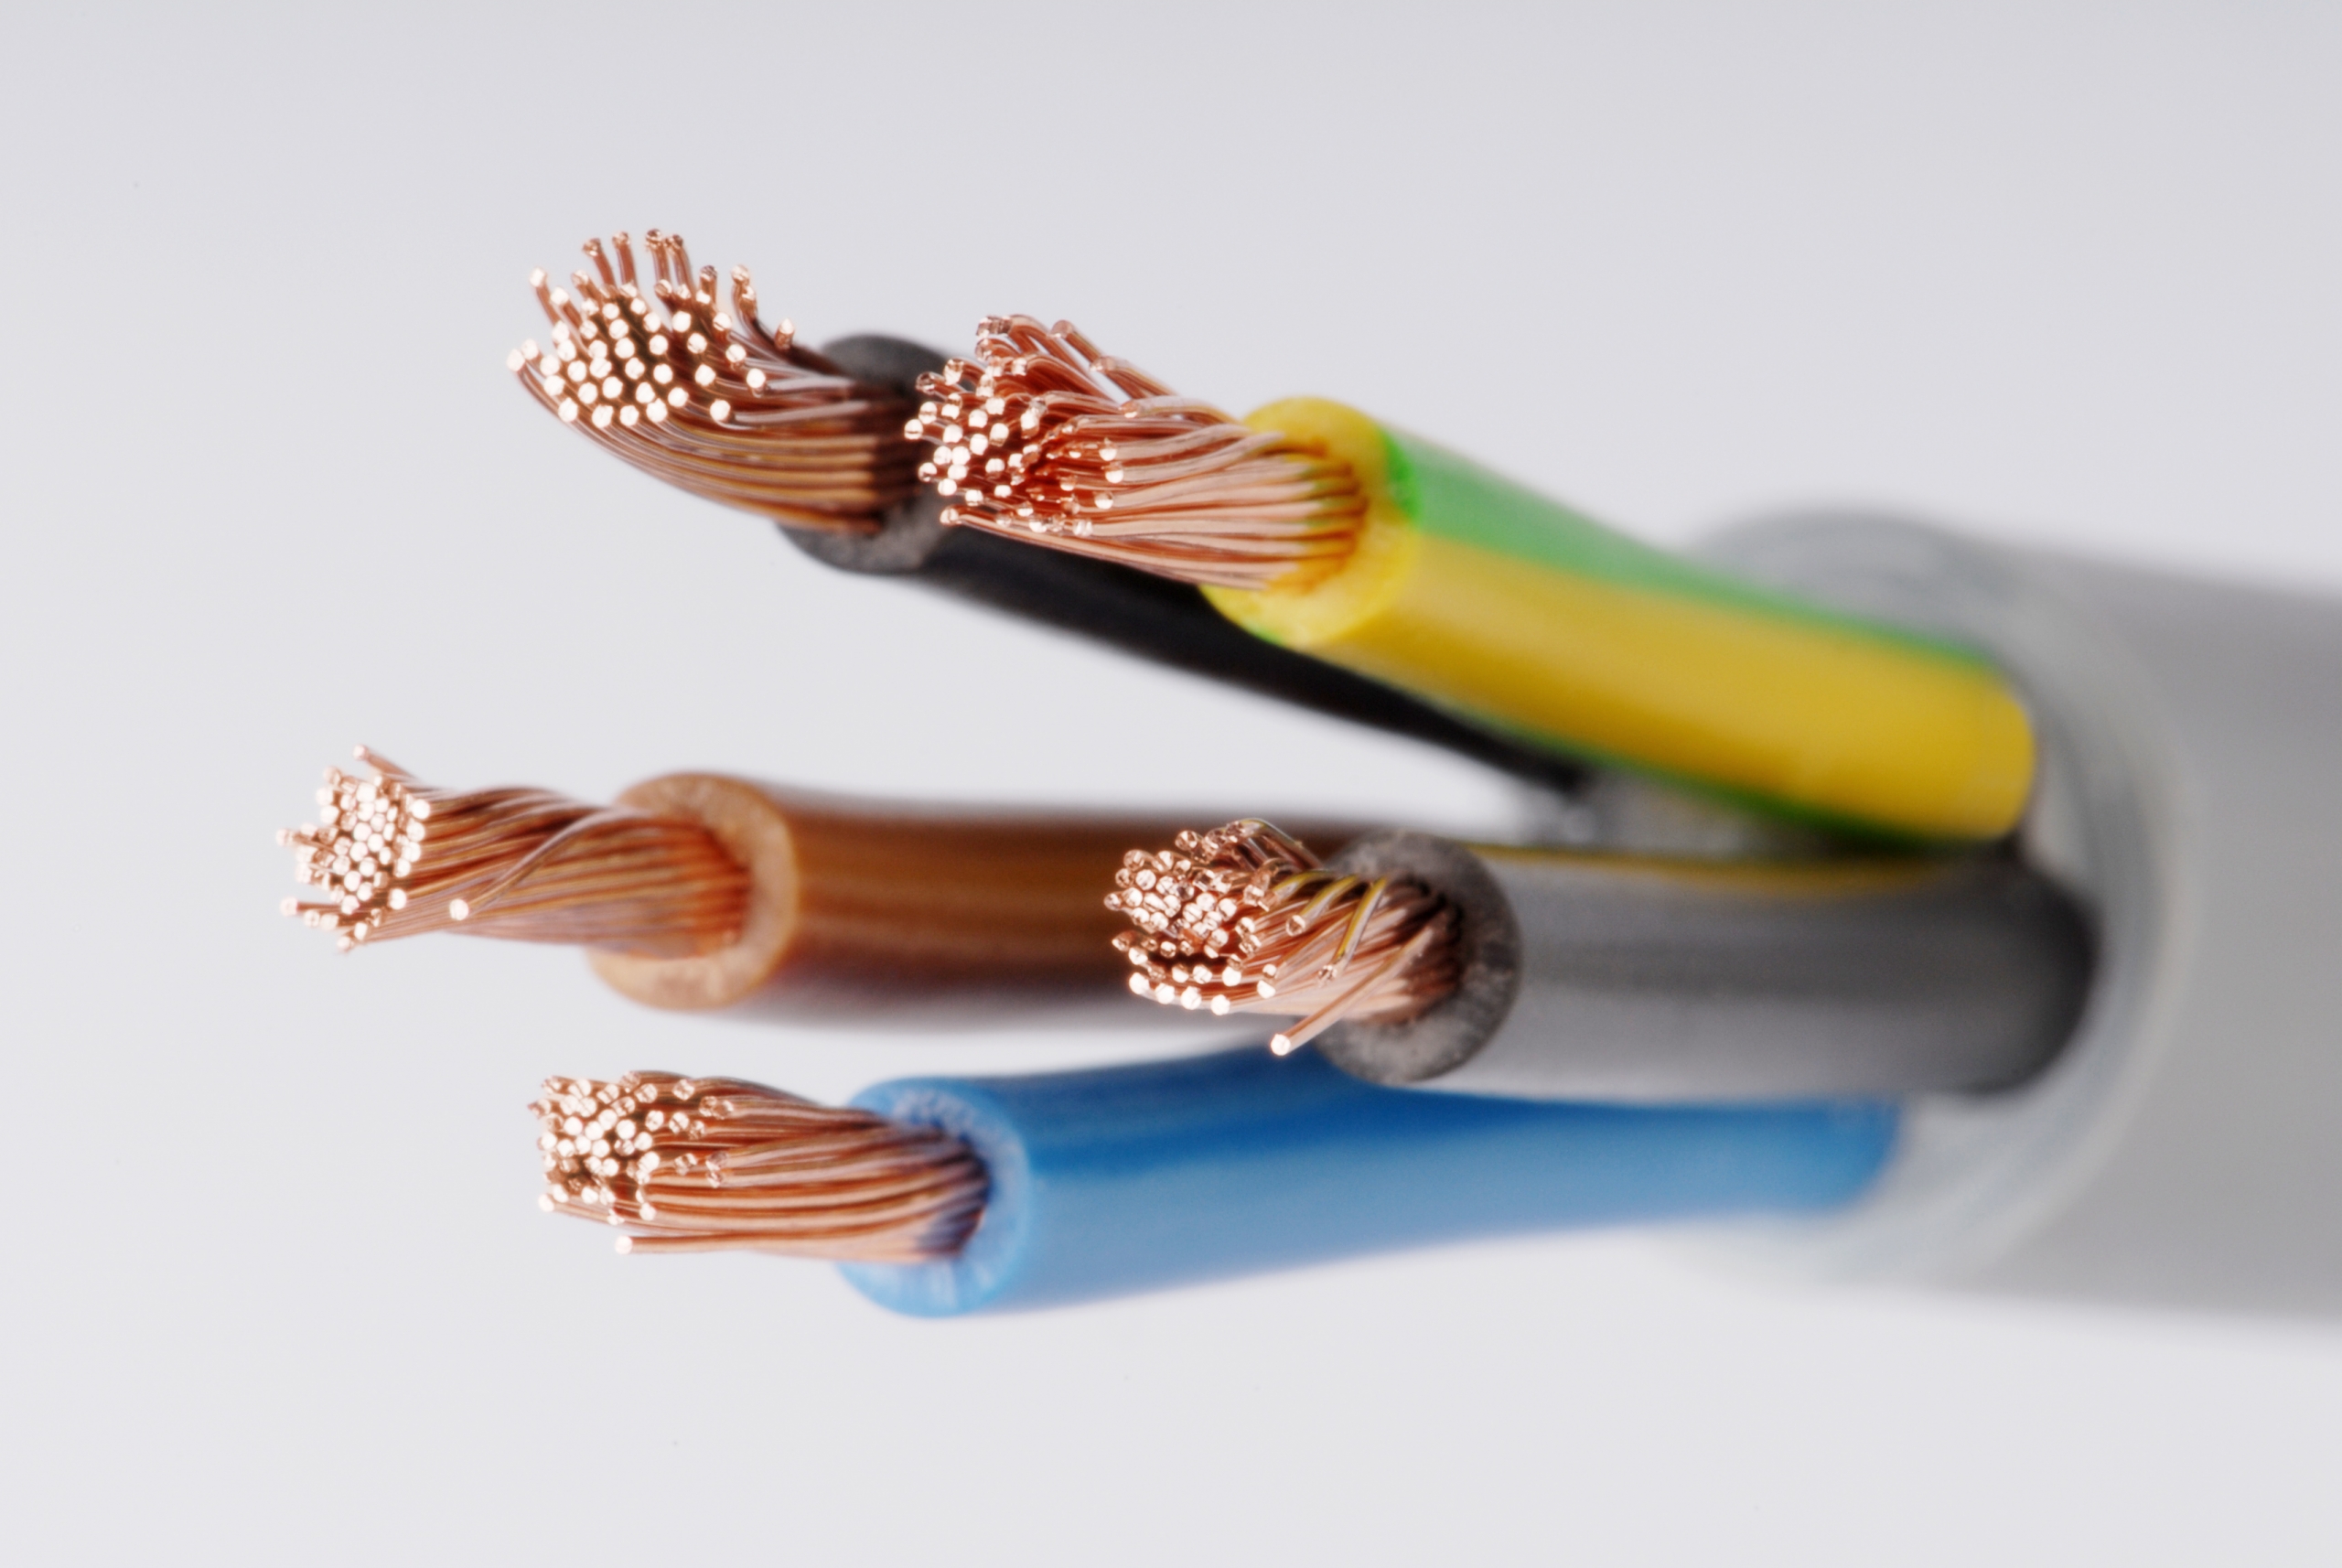
Electrical wires are crucial in safely delivering electricity to various devices and systems. They come in different types, such as copper, aluminum, and fiber optic, each suited for specific applications. Choosing the right wire type and gauge ensures efficient energy flow and reduces the risk of electrical hazards.
Proper insulation and installation are vital to maintain safety standards. Electrical wires are categorized by their usage, such as for indoor, outdoor, or high-voltage purposes. Understanding these categories helps in selecting the right wire for your needs, ensuring optimal performance and safety.
Credit: romanelectrichome.com
Choosing The Right Wire
Choosing the right electrical wire ensures safety and efficiency. It helps in preventing electrical hazards. This section will guide you through important factors. Let’s delve into the Wire Gauge Importance and Types of Wire.
Wire Gauge Importance
Wire gauge measures the wire’s diameter. It affects how much current it can carry. A smaller gauge number means a thicker wire. Thicker wires carry more current. Using the right gauge prevents overheating and fire risks.
Here’s a simple guide to wire gauges:
| Wire Gauge | Max Current (Amps) | Common Uses |
|---|---|---|
| 14 | 15 | Lighting, outlets |
| 12 | 20 | Kitchen appliances |
| 10 | 30 | Dryers, water heaters |
Types Of Wire
Different wires suit different applications. Selecting the right type is essential. Here are common wire types:
- THHN/THWN: Thermoplastic High Heat-resistant Nylon-coated wire. Suitable for indoor use.
- UF-B: Underground Feeder cable. Ideal for outdoor and underground applications.
- NM-B: Non-Metallic Sheathed cable. Perfect for indoor residential wiring.
Each type has unique characteristics. Choose based on the environment and needs.
Understanding Electrical Ratings
Electrical ratings determine the safe usage of wires in circuits. Knowing the ratings ensures safety and efficiency. Let’s explore voltage ratings and current capacity.
Voltage Ratings
Voltage rating indicates the maximum voltage a wire can handle. Exceeding this limit can cause insulation failure or short circuits. Most household wires have a voltage rating of 300V or 600V.
- 300V Rated Wires: Suitable for light fixtures and small appliances.
- 600V Rated Wires: Used in large appliances and industrial setups.
Check the wire insulation for voltage ratings. This ensures proper usage and safety.
Current Capacity
Current capacity, or ampacity, is the maximum current a wire can carry. Exceeding ampacity can overheat the wire and cause fires. The wire gauge determines the current capacity.
Here’s a table with common wire gauges and their ampacity:
| Wire Gauge (AWG) | Current Capacity (Amps) |
|---|---|
| 14 | 15 |
| 12 | 20 |
| 10 | 30 |
| 8 | 40 |
For safety, always select a wire with the correct gauge for the required current. Check the wire’s insulation for the current rating.
Safety Precautions
Handling electrical wire can be dangerous without proper precautions. Understanding and following safety measures is crucial to prevent accidents and injuries. This section provides essential guidelines to ensure your safety while working with electrical wires.
Protective Gear
Wearing the right protective gear is essential for safety. Here are some items you should always use:
- Insulated gloves: Protect your hands from electric shocks.
- Safety goggles: Shield your eyes from sparks and debris.
- Rubber-soled shoes: Reduce the risk of electric shock.
- Long-sleeved clothing: Cover your skin to avoid burns.
Always inspect your protective gear before use. Ensure there are no damages or wear that could compromise your safety.
Turn Off Power
Always turn off the power before working with electrical wires. This step is crucial to prevent electric shocks and fires.
- Locate the main circuit breaker in your home or building.
- Switch off the circuit breaker to cut off electricity.
- Use a voltage tester to confirm the power is off.
Never assume the power is off. Always double-check using a reliable voltage tester. This simple step can save your life.
By following these safety precautions, you can handle electrical wires more confidently and safely. Prioritizing safety helps prevent accidents and ensures a smooth workflow.
Tools And Materials
Working with electrical wire requires specific tools and materials. Using the right tools ensures safety and efficiency. Let’s explore the essential tools and additional materials needed for electrical wiring projects.
Essential Tools
These tools are crucial for any electrical wiring task:
- Wire Strippers: These remove the insulation from the wire ends.
- Multimeter: This tool checks voltage, current, and resistance.
- Voltage Tester: It ensures the circuit is de-energized before working.
- Needle-Nose Pliers: These help in bending and cutting wires.
- Fish Tape: It pulls wire through walls and conduits.
- Electrical Tape: This insulates and protects wire connections.
Additional Materials
Besides tools, you’ll need various materials for electrical wiring:
- Wire Nuts: These connect and secure wire ends together.
- Conduit: It protects wires from physical damage.
- Cable Ties: These organize and bundle wires neatly.
- Electrical Boxes: These house wire connections and devices.
- Grounding Rods: They provide a safe path for electrical current.
Having the right tools and materials ensures a safe and efficient wiring job. Always follow safety guidelines and use quality products.
Planning The Installation
Proper planning is crucial for a successful electrical wire installation. It ensures safety and efficiency. This section will guide you through essential steps. Learn how to create a wiring diagram and assess the length and path.
Create A Wiring Diagram
A wiring diagram is a visual representation of your electrical system. It helps you plan and avoid mistakes. Follow these simple steps to create one:
- Identify all components, including outlets, switches, and lights.
- Draw symbols for each component on paper.
- Connect the symbols with lines to show wire connections.
- Label each wire with its purpose and type.
Using a wiring diagram ensures that every component is accounted for. It also helps you visualize the entire system before installation.
Assessing Length And Path
Before buying wires, measure the length needed. This step prevents waste and ensures you have enough wire. Follow these steps to assess length and path:
- Use a tape measure to determine the distance between components.
- Add extra length for bends and turns.
- Consider the best path for each wire, avoiding obstacles.
Here is a table to help you calculate wire length:
| Component | Distance (feet) | Extra Length (feet) | Total Length (feet) |
|---|---|---|---|
| Outlet to Switch | 10 | 2 | 12 |
| Switch to Light | 8 | 2 | 10 |
Assessing the length and path carefully ensures a smooth installation process. It saves time and reduces errors. Remember to double-check measurements before purchasing materials.
Credit: www.pennaelectric.com
Running The Wire
Running the electrical wire is a critical step in any electrical project. This process ensures that power is safely and efficiently delivered to the intended outlets, switches, and fixtures. In this section, we will cover the essential steps of drilling and cutting, and securing the wire.
Drilling And Cutting
Drilling holes and cutting paths for wires is the first step. Use a power drill with a suitable bit to drill holes through studs or joists. Make sure the holes are large enough for the wires but not too big to weaken the structure.
- Measure the distance for the wire path.
- Mark the points where you need to drill.
- Ensure straight lines for an easier pull.
After drilling, cut any necessary paths for the wire. Use a saw or a utility knife for clean cuts. Always wear safety gear to protect yourself from debris.
Securing The Wire
Once the wire is through the holes, secure it in place. Use staples or wire clamps to hold the wire against the studs or joists. This prevents the wire from sagging or moving.
- Place the wire along the drilled path.
- Use insulated staples to secure the wire.
- Staple the wire every few feet.
Ensure the wire is not too tight. Leave some slack to avoid stress on the wire. Check local building codes for specific requirements on wire securing.
| Tool | Purpose |
|---|---|
| Power Drill | Drilling holes |
| Saw/Utility Knife | Cutting paths |
| Staples/Clamps | Securing wires |
Connecting The Wire
Connecting electrical wires is a crucial step in any wiring project. Proper connections ensure safety and efficiency. Whether you’re a DIY enthusiast or a professional, understanding the basics is essential.
Stripping Insulation
Stripping the insulation from the wire is the first step. You need the right tools for this task. Use a wire stripper to remove the insulation cleanly.
- Choose the correct gauge on the wire stripper.
- Clamp the wire with the stripper.
- Gently pull to remove the insulation.
Ensure you do not damage the wire. Damaged wires can cause electrical failures. Always work slowly and carefully.
Making Connections
After stripping the insulation, it’s time to make connections. Proper connections ensure the flow of electricity.
- Twist the exposed wires together tightly.
- Use a wire nut to secure the connection.
- Wrap the connection with electrical tape for safety.
There are different types of connections, such as:
| Connection Type | Usage |
|---|---|
| Twist-on connectors | Common for home wiring |
| Soldering | Used for permanent connections |
| Crimp connectors | Used in automotive and industrial settings |
Always ensure connections are tight and secure. Loose connections can lead to short circuits. Safety should always be a priority in wiring projects.
Testing And Troubleshooting
Testing and troubleshooting electrical wires is essential for safety. Faulty wiring can cause fires and electrical shocks. Knowing how to test and troubleshoot can save lives. It also ensures your electrical systems function properly.
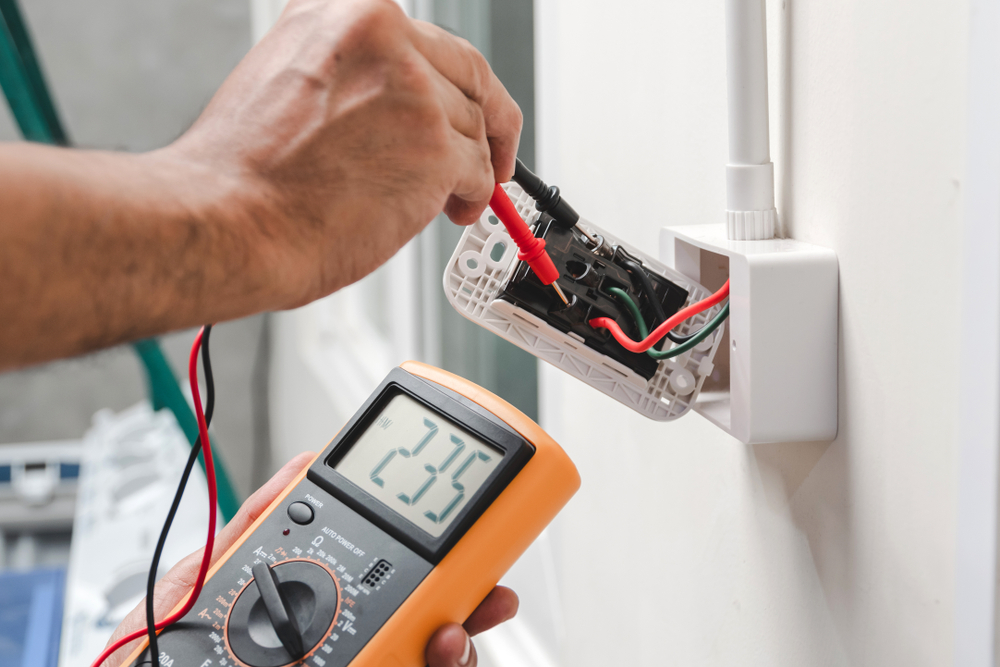
Using A Multimeter
A multimeter is a crucial tool for testing wires. It measures voltage, current, and resistance. To use a multimeter, follow these steps:
- Set the multimeter to the correct setting.
- Connect the probes to the wires.
- Read the measurement on the display.
Here’s a simple table to understand multimeter settings:
| Setting | Use |
|---|---|
| Voltage (V) | Measure electrical potential. |
| Current (A) | Measure electrical flow. |
| Resistance (Ω) | Measure resistance in wires. |
Common Issues
Electrical wires can face many issues. Identifying these problems is key. Here are some common issues:
- Short Circuits: Occur when wires touch each other.
- Open Circuits: Happen when a wire is broken.
- Overloaded Circuits: Caused by too many devices on one wire.
- Corroded Wires: Result from exposure to moisture.
Regular checks can prevent these issues. Use a multimeter to test for continuity. This ensures the wire is intact.
Compliance With Codes
Understanding compliance with codes is essential for anyone working with electrical wires. Compliance ensures safety and efficiency. It prevents accidents and ensures installations are up to standard. Let’s explore some important codes you need to follow.
Local Building Codes
Local building codes set the rules for electrical installations in your area. These codes vary from place to place. Always check your local requirements before starting any project. Local codes ensure the safety of electrical systems in your community.
You can find these codes at your local building department. They provide specific guidelines for wiring methods and materials. Following these codes helps avoid potential hazards and legal issues.
National Electrical Code
The National Electrical Code (NEC) is a widely adopted standard in the US. The NEC provides comprehensive guidelines for electrical wiring and installations. It covers everything from wire sizing to grounding and circuit protection.
The NEC is updated every three years. Make sure you use the latest version. Following the NEC ensures your electrical installations are safe and reliable. It also helps in meeting insurance and inspection requirements.
Here’s a table summarizing key aspects of the NEC:
| Aspect | Description |
|---|---|
| Wire Sizing | Determines the correct wire size for different applications. |
| Grounding | Guidelines for proper grounding of electrical systems. |
| Circuit Protection | Rules for using fuses and circuit breakers. |
Credit: erieit.edu
Frequently Asked Questions
What Is Electrical Wire Used For?
Electrical wire is used to transmit electrical power. It connects various electrical devices and systems. It ensures safe and efficient power distribution.
How Do I Choose The Right Electrical Wire?
Choose based on the wire’s gauge, insulation type, and application. Ensure it meets local electrical codes. Consult a professional for guidance.
What Materials Are Electrical Wires Made From?
Electrical wires are typically made from copper or aluminum. Copper offers better conductivity. Aluminum is lighter and more cost-effective.
Can Electrical Wire Be Used Outdoors?
Yes, but it must be rated for outdoor use. Look for weather-resistant and UV-protected wires. Always follow safety guidelines.
Conclusion
Selecting the right electrical wire ensures safety and efficiency. Always consider the wire type, gauge, and application. Proper installation prevents hazards and enhances performance. Consult experts for the best choices. Invest in quality to avoid future issues. Remember, reliable wiring is crucial for any project’s success.
Choose wisely and ensure peace of mind.